Welcome to the Honeywell T10 Installation Manual, your comprehensive guide for installing and configuring the T10 Pro Smart Thermostat; This manual is designed for professional installers, providing detailed steps, safety guidelines, and advanced setup options to ensure a seamless installation process. It covers everything from pre-installation checks to smart feature customization, helping you maximize the thermostat’s efficiency and functionality.
1.1 Overview of the T10 Pro Smart Thermostat
The Honeywell T10 Pro Smart Thermostat is a cutting-edge, ENERGY STAR-certified device designed for professional installation. It offers seamless integration with various HVAC systems, including heat pumps, and features advanced smart capabilities like wireless sensor connectivity and geofencing. The thermostat is compatible with RedLINK technology, enabling precise temperature control and remote monitoring. Its compact design and user-friendly interface make it an ideal choice for modern homes, ensuring energy efficiency and comfort. The T10 Pro also supports humidification, dehumidification, and ventilation systems for enhanced indoor air quality.
1.2 Importance of Proper Installation
Proper installation of the Honeywell T10 Pro Smart Thermostat is critical for ensuring safety, efficiency, and optimal performance. Incorrect wiring or setup can lead to electrical hazards, equipment damage, or system malfunctions. Adhering to the manual’s guidelines ensures compliance with safety standards and prevents potential risks. Proper installation also guarantees accurate temperature control, seamless integration with HVAC systems, and full access to smart features like scheduling and geofencing. Correct setup is essential for maintaining warranty validity and achieving energy efficiency, making professional installation highly recommended.
Pre-Installation Requirements and Safety Precautions
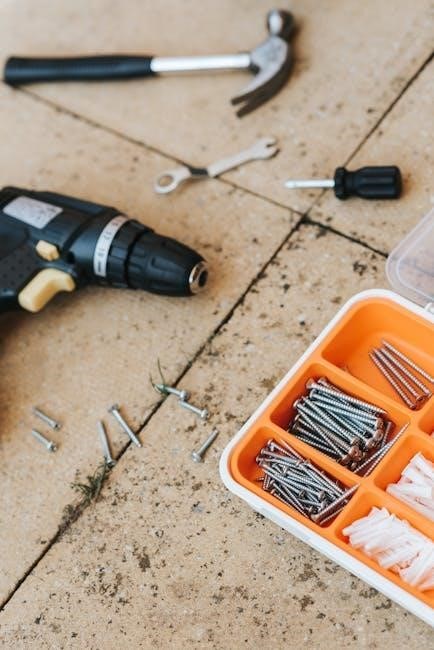
Ensure power is disconnected before starting installation to prevent electrical shock or damage. Follow safety guidelines for handling electrical components and avoid improper disposal of mercury-containing parts.
2.1 Electrical Safety Guidelines
Disconnect power before installation to avoid electrical shock or equipment damage. Ensure all wires are securely connected to prevent loose connections. Use a voltage tester to confirm power is off. Avoid cycling the compressor quickly during testing to prevent damage. Handle electrical components with care, and never dispose of mercury-containing controls improperly. Follow all local regulations for safe disposal of hazardous materials to protect the environment and human health.
2.2 Compatibility Check for HVAC Systems
Ensure the Honeywell T10 Pro Smart Thermostat is compatible with your HVAC system. It supports conventional systems, heat pumps, and dual-fuel configurations. Verify if your system requires a C-Wire; if unavailable, use the C-Wire adapter (THP9045A1098). The thermostat is also compatible with humidifiers, dehumidifiers, and ventilators when properly connected. Check wiring requirements for auxiliary heat (AUX or E terminals) and ensure proper setup for heat pump applications to avoid system malfunctions. Compatibility ensures optimal performance and functionality.
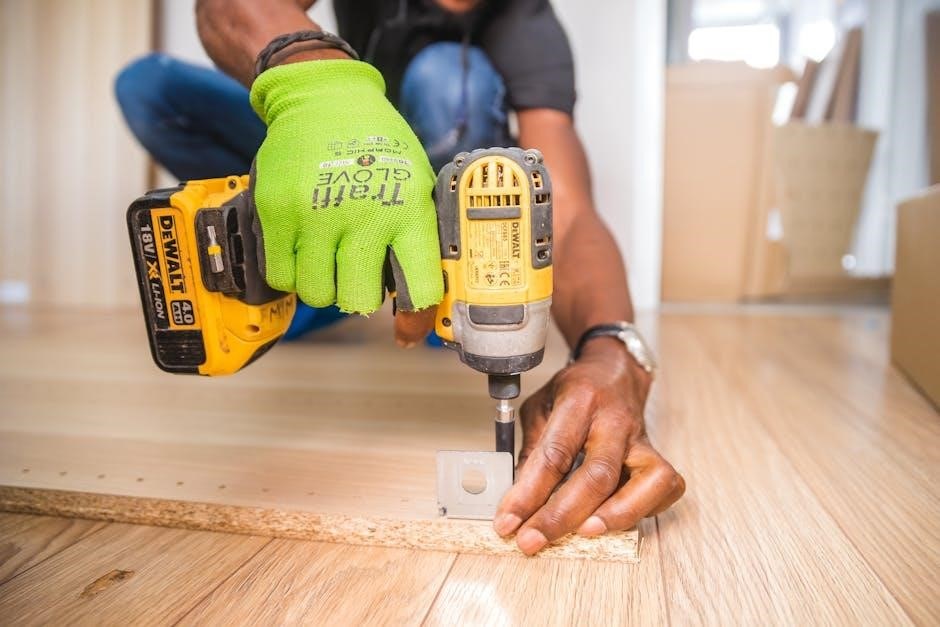
UWP Mounting System Installation
Position the UWP on the wall, ensuring it is level. Mark the hole positions, drill pilot holes, and secure the UWP using the provided screws.
3.1 Terminal Designations and Wiring Setup
Identify the terminal designations on the UWP, ensuring each wire is connected to the correct terminal; Use the slider tabs to secure wires firmly. For heat pump systems, avoid using the W terminal; instead, connect auxiliary heat to AUX or E. If a C-Wire is unavailable, use the C-Wire adapter (THP9045A1098). Verify all connections are secure by gently tugging on the wires. Proper wiring ensures optimal performance and avoids potential system issues during operation.
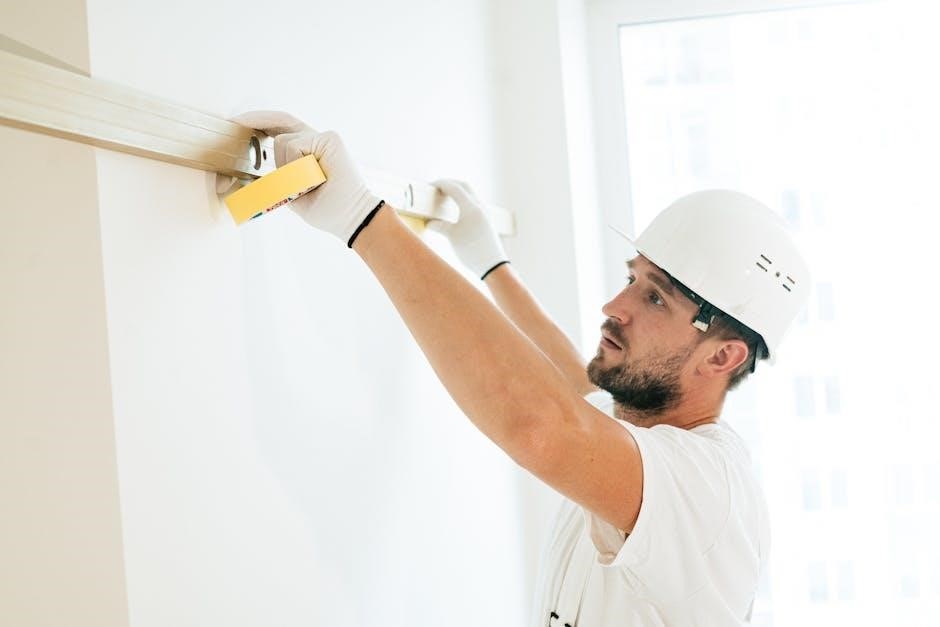
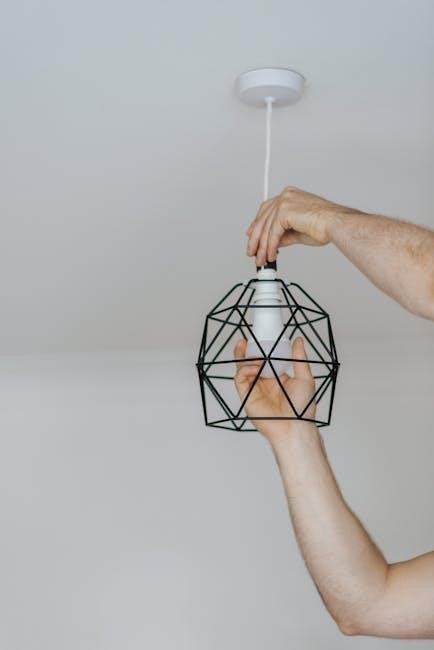
3.2 Mounting the Thermostat on the Wall
Position the UWP on the wall, ensuring it is level. Mark the hole positions and drill pilot holes. Insert wall anchors and fit the UWP over them, securing with screws. Tighten firmly to ensure stability. Mount the thermostat onto the UWP, aligning it properly. Use the built-in leveling feature for accuracy. Ensure all components are securely fastened to prevent movement. Proper wall mounting is essential for reliable operation and aesthetic installation. Follow the provided hardware and instructions for a precise fit.
Wiring and Connections
Ensure proper wiring by connecting terminals accurately, using a C-wire or adapter if needed; Avoid incorrect wire assignments to prevent issues. Secure connections for reliable operation and advanced features.
4.1 Conventional HVAC System Wiring
For conventional HVAC systems, ensure correct terminal connections. Match wires to labels like R, W, Y, G, C, and O. Insert wires into UWP terminals firmly, verifying with a tug. Use a C-wire or adapter if needed. Incorrect wiring can cause malfunctions. Follow diagrams for proper setup, ensuring compatibility with your system type. Secure all connections to avoid issues during operation. Proper wiring ensures reliable heating, cooling, and fan control, optimizing system performance and smart features. Always refer to the manual for specific configurations.
4.2 Heat Pump System Wiring
For heat pump systems, connect wires to terminals like R, W, Y, O, B, and C. Use the auxiliary (AUX) terminal for backup heat. Ensure proper polarity to avoid damage. If no separate wires for AUX and E, connect to AUX. Use a C-wire or adapter if unavailable. Follow wiring diagrams for dual-fuel or hybrid systems. Proper connections ensure efficient heating and cooling. Always verify compatibility with your heat pump type before finalizing connections to prevent operational issues. Refer to manual for specific heat pump configurations.
4.3 Humidifier, Dehumidifier, and Ventilator Connections
Connect humidifier, dehumidifier, or ventilator systems using the UWP slider tabs. Ensure proper wiring to terminals for humidifier (HUM), dehumidifier (DEH), or ventilator (VENT) relays. Use 24VAC common wire from the cooling transformer’s secondary side. If using a dual transformer, connect the common wire to the secondary side of the cooling transformer. Proper connections ensure precise humidity and ventilation control. Refer to wiring diagrams for specific configurations. Always verify compatibility with your HVAC system to avoid operational issues.
Installer Setup and Configuration
Configure the T10 Pro Smart Thermostat by accessing the menu, setting up equipment, and connecting to wireless sensors and Wi-Fi for optimal performance and remote control.
5.1 Accessing Advanced Installer Options
Access advanced installer options by navigating through the menu. Open the Menu icon and select Thermostat Information to find the date code. Enter your company’s Contractor PRO account number to participate in promotions and earn incentives. This step allows you to register your installation and access exclusive benefits. Ensure all settings are configured correctly for optimal performance and to enable smart features like remote monitoring and energy management.
5.2 Initial Thermostat Setup and Wi-Fi Connection
After installation, power on the thermostat and follow the on-screen instructions. Select your Wi-Fi network from the list and enter the password to establish a secure connection. Once connected, the display will guide you through equipment setup, including pairing with wireless sensors and configuring smart features. Ensure your network is stable for uninterrupted performance. The thermostat will also prompt you to enter your company name and contact information for customer alerts, enhancing professional service delivery.

Smart Features and Customization
The Honeywell T10 Pro offers advanced smart features, including scheduling, geofencing, and priority zone control. Customize temperature settings, humidity levels, and ventilation for enhanced comfort and energy efficiency.
6.1 Scheduling and Geofencing
The Honeywell T10 Pro Smart Thermostat allows users to create custom schedules tailored to their daily routines, optimizing energy usage. Geofencing technology adjusts temperatures based on your location, ensuring comfort when you’re home and energy savings when you’re away. Smart scheduling integrates seamlessly with priority zones, learning your preferences over time. This feature enhances efficiency by automatically adapting to your lifestyle, providing a convenient and personalized experience while reducing energy consumption.
6.2 Priority Zones and Temperature Control
The Honeywell T10 Pro Smart Thermostat offers advanced temperature control through priority zones, allowing you to focus on specific areas of your home. This feature creates an average temperature across selected zones, ensuring comfort where it matters most. Customizable settings enable precise control, while smart algorithms adapt to your preferences. By prioritizing zones, you can optimize energy usage and maintain consistent comfort levels throughout your home, making it an efficient and intuitive solution for modern heating and cooling needs.

Troubleshooting Common Issues
This section addresses common problems during installation and operation, such as error codes, connectivity issues, and sensor malfunctions. It provides step-by-step solutions to ensure smooth functionality.
7.1 Diagnostic Error Codes and Solutions
The Honeywell T10 Pro Smart Thermostat displays diagnostic error codes to help identify and resolve issues. Common codes include E02 (sensor issues) and E03 (Wi-Fi connectivity problems). Solutions involve resetting the thermostat, checking sensor connections, or ensuring proper wiring. For wiring-related errors, verify terminal connections and ensure no loose wires. Connectivity issues may require restarting the router or checking network settings. Refer to the manual for specific code meanings and step-by-step troubleshooting guidance to restore functionality quickly.

7.2 Resolving Connectivity and Sensor Problems
To resolve connectivity issues, restart your router and ensure the thermostat has a stable Wi-Fi connection. For sensor problems, check if sensors are properly paired and placed away from direct sunlight or drafts. Verify wiring connections and ensure no damage to sensors. Resetting the thermostat or updating software may also resolve issues. If problems persist, refer to the error code list in the manual for specific troubleshooting steps to restore functionality and ensure accurate temperature readings.
Technical Specifications and Warranty
The Honeywell T10 Pro Smart Thermostat operates within 32°F to 120°F (0°C to 48.9°C) and 5% to 90% non-condensing humidity. It is backed by a 5-year limited warranty, covering defects in materials and workmanship. Proper installation is essential for warranty validity. For full details, refer to the official Honeywell website.
8.1 Operating Temperature and Humidity Ranges
The Honeywell T10 Pro Smart Thermostat operates effectively within a temperature range of 32°F to 120°F (0°C to 48.9°C) and a relative humidity of 5% to 90% (non-condensing). For shipping, the thermostat can withstand temperatures from -20°F to 120°F (-28.9°C to 48.9°C). These specifications ensure optimal performance across various environmental conditions. Proper installation within these ranges is crucial for maintaining functionality and warranty validity. Refer to the manual for detailed technical specifications and installation guidelines.
8.2 Warranty Terms and Conditions
Honeywell offers a 5-year limited warranty for the T10 Pro Smart Thermostat, covering defects in materials and workmanship under normal use. The warranty applies only to the original purchaser and is non-transferable. Proper installation, adhering to guidelines, is essential for warranty validity. For detailed terms, visit Honeywell’s official website. Damages from misuse or incorrect installation are excluded, ensuring the product performs as intended when installed correctly.