
Welcome to the Trane XL824 Installation Manual, your guide to successfully installing and configuring the XL824 connected control thermostat․ This manual provides step-by-step instructions, ensuring a smooth setup process, proper configuration, and optimal performance of your HVAC system․
Overview of the Trane XL824 System
The Trane XL824 is a state-of-the-art connected control thermostat designed for seamless integration with Trane HVAC systems․ This advanced system offers compatibility with various heating and cooling configurations, including gas furnaces, heat pumps, and air handlers․ The XL824 features Wi-Fi connectivity, enabling remote control and scheduling through Trane Home, ensuring enhanced convenience and energy efficiency․ Its intuitive interface allows users to set preferences for home, away, and sleep conditions, while smart optimization capabilities learn and adapt to usage patterns․ Designed for both residential and light-commercial use, the XL824 combines reliability, innovation, and user-friendly functionality to provide optimal climate control and comfort․
Importance of Proper Installation
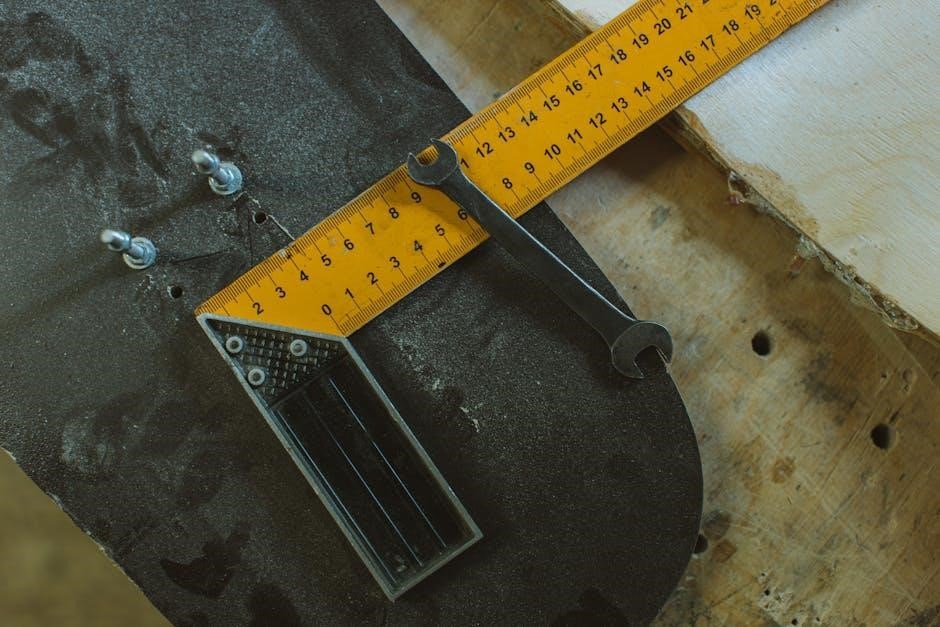
Proper installation of the Trane XL824 is crucial for ensuring system performance, efficiency, and safety․ All phases of the installation must comply with national, state, and local codes to avoid potential legal issues and safety hazards․ Incorrect wiring or configuration can lead to system errors, reduced efficiency, or even complete system failure․ Following the manual’s guidelines ensures compatibility with existing HVAC systems and prevents costly repairs․ Proper installation also guarantees optimal energy savings and comfort, as the XL824 is designed to work seamlessly with Trane equipment․ Always use 18-gauge color-coded thermostat cable and keep wiring at least one foot away from large electrical components for reliable operation․
Pre-Installation Requirements
Verify compatibility with existing HVAC systems, gather necessary tools and materials, and ensure all safety precautions are understood to prevent installation errors or potential hazards․
Compatibility Check with Existing HVAC Systems
Before installing the Trane XL824, ensure it is compatible with your current HVAC system․ The XL824 works with most Trane systems but may require specific wiring configurations․ Check the existing thermostat cables and verify that they meet the 18-gauge requirement․ Shielded cables are typically unnecessary unless interference issues arise․ Additionally, confirm that your HVAC system supports the XL824’s advanced features, such as Wi-Fi connectivity and smart optimization․ Consulting the installation guide or a professional can help avoid compatibility issues and ensure seamless integration with your home’s heating and cooling setup for optimal performance and efficiency․
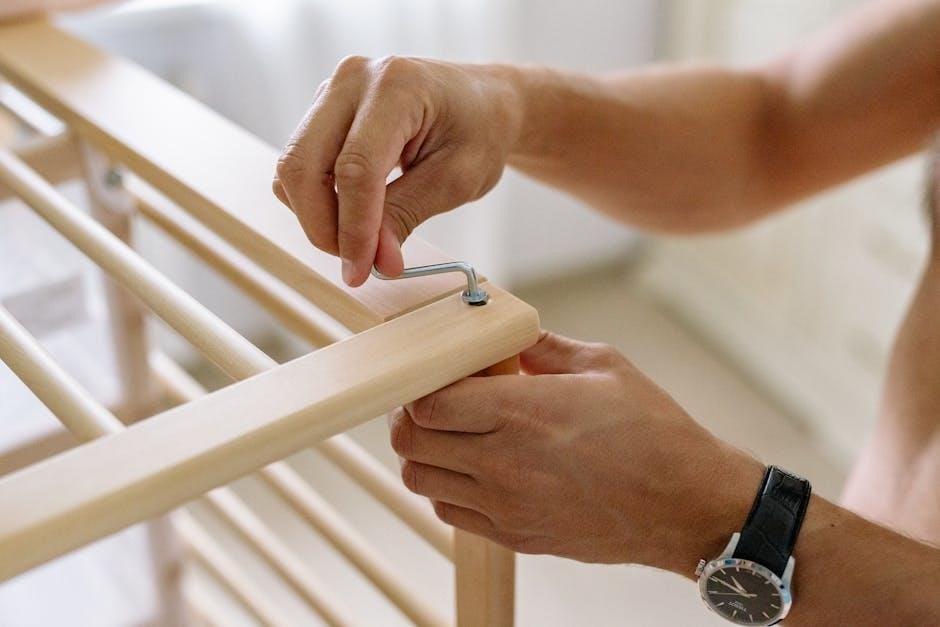
Gathering Necessary Tools and Materials

To ensure a smooth installation of the Trane XL824 thermostat, gather the required tools and materials beforehand․ You will need an 18-gauge thermostat cable for proper wiring, as well as a screwdriver for mounting the device․ Additionally, a voltage tester is essential to verify electrical connections safely․ Other materials include wall anchors for securing the thermostat and a level to ensure proper alignment․ Having these items ready will streamline the installation process and prevent delays․ Refer to the manual for any system-specific requirements to ensure compatibility and ease of setup․
Safety Precautions Before Starting the Installation
Before beginning the installation of the Trane XL824 thermostat, ensure all safety precautions are followed․ Turn off the power to the HVAC system at the circuit breaker or fuse box to avoid any risk of electrical shock․ Verify that the system is completely powered down using a voltage tester․ Wear appropriate protective gear, such as insulated gloves and safety glasses, when handling electrical components․ Ensure the wiring is kept at least one foot away from large appliances or sources of interference․ Always comply with national, state, and local electrical codes․ If unsure about any step, consult a licensed professional to ensure safe and proper installation․
Installation Process
The Trane XL824 installation involves wiring, mounting, and connecting to your HVAC system․ Use 18-gauge color-coded cable and keep wires at least one foot away from large appliances to ensure proper functionality and avoid interference․
Wiring Instructions for the XL824 Thermostat
Proper wiring is essential for the XL824 thermostat to function correctly․ Use 18-gauge, color-coded thermostat cable for connections, ensuring wires are at least one foot away from large appliances to avoid interference․ Identify and label existing wires before disconnecting them to ensure accurate reconnection․ Match each wire to the corresponding terminal on the XL824, following the manual’s wiring diagram․ Avoid using shielded cable unless necessary․ After wiring, test the system to confirm proper functionality․ If issues arise, refer to the troubleshooting section or consult a licensed professional․ Correct wiring ensures seamless communication between the thermostat and your HVAC system․
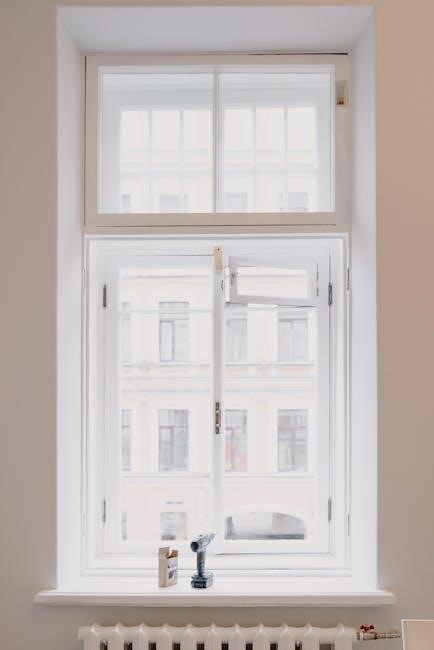
Mounting the Thermostat on the Wall
Mounting the Trane XL824 thermostat requires careful planning to ensure proper installation․ Choose a location approximately 52-60 inches from the floor for optimal performance and accessibility․ Use the provided wall plate and screws to secure the thermostat to the wall․ Ensure the surface is level and clean before attaching the plate․ Gently snap the thermostat onto the wall plate, making sure it clicks securely into place․ Check that the thermostat is evenly aligned and firmly fastened․ Avoid mounting near direct sunlight, radiators, or drafty areas to maintain accurate temperature readings․ Once installed, test the thermostat to ensure it powers on and functions correctly․
Connecting the XL824 to the HVAC System
Connecting the Trane XL824 thermostat to your HVAC system is a critical step for proper functionality․ Use 18-gauge color-coded thermostat cable for wiring, ensuring connections match the system’s requirements․ Turn off power to the HVAC system before starting․ Connect the wires to the appropriate terminals on both the thermostat and the HVAC unit, following the manual’s wiring diagram․ Ensure compatibility with your specific HVAC system configuration․ If using the Quick Connect plug, insert it securely into the thermostat’s port․ Double-check all connections for accuracy and tightness․ Once connected, restore power and test the system to confirm proper operation and communication between the thermostat and HVAC equipment․
Post-Installation Configuration
After installation, configure your Trane XL824 thermostat using the Initial Setup Wizard, set preferences for heating and cooling, and enable features like smart optimization for optimal performance․
Initial Setup Wizard for User Configuration
The Initial Setup Wizard guides users through configuring the Trane XL824 thermostat․ Accessible via the menu, it simplifies setting up user preferences, scheduling, and system integration․ Follow on-screen instructions to customize heating and cooling targets for Home, Away, and Sleep modes․ The wizard ensures seamless network connectivity and integrates with Trane Home, enhancing smart features․ Complete the setup to enable advanced functionalities, ensuring optimal performance tailored to your needs․ Proper configuration through the wizard is essential for maximizing energy efficiency and comfort․
Network Setup and Wi-Fi Connectivity
Network setup and Wi-Fi connectivity are crucial for enabling smart features of the Trane XL824 thermostat․ Connect your thermostat to your home network by selecting your Wi-Fi network from the available options․ Once connected, the XL824 integrates with Trane Home, allowing remote control and scheduling via the Trane Home app․ Ensure your router is operational and within range for a stable connection․ The thermostat supports standard Wi-Fi protocols, ensuring secure and reliable communication․ Proper network configuration is essential for accessing advanced features like remote monitoring and energy usage tracking, enhancing your HVAC system’s efficiency and convenience․
Setting Up Heating and Cooling Preferences

Setting up heating and cooling preferences on the Trane XL824 thermostat allows you to customize your comfort settings․ Use the preset options for Home, Away, and Sleep modes to maintain optimal temperatures․ Adjust target temperatures for both heating and cooling systems to suit your lifestyle․ The thermostat also allows scheduling, enabling automated temperature adjustments based on your daily routine․ Additionally, you can set temperature ranges to ensure energy efficiency without sacrificing comfort․ These preferences can be easily configured through the thermostat’s menu or the Trane Home app, providing flexibility and control over your HVAC system’s performance․
Troubleshooting Common Issues
Troubleshooting common issues with the Trane XL824 thermostat involves identifying error codes and addressing wiring or connectivity problems․ Refer to the manual for specific solutions․
Identifying and Resolving Common Installation Errors
Common installation errors with the Trane XL824 thermostat often involve wiring issues or incorrect system configuration․ Ensure all connections match the wiring diagram in the manual․ Verify compatibility with your HVAC system to prevent communication errors․ If the thermostat fails to power on, check the circuit breaker and wiring connections․ For connectivity problems, restart the thermostat and router, then re-attempt network setup․ Refer to the troubleshooting section for error codes and step-by-step solutions to resolve issues quickly and effectively, ensuring optimal performance from your Trane XL824 system․
Understanding Error Codes and Solutions
The Trane XL824 thermostat displays error codes to help identify and resolve installation or operational issues․ Common codes include E102 for Wi-Fi connectivity problems and E103 for system communication failures․ Refer to the manual for a comprehensive list of codes and their meanings․ To resolve E102, restart the router and ensure the thermostat is within range․ For E103, check wiring connections and system compatibility․ If issues persist, consult the troubleshooting guide or contact a certified technician․ Understanding these codes ensures quick diagnostics and minimizes downtime, helping you maintain optimal HVAC performance and comfort in your home․ Always follow the manual’s guidance for accurate solutions․
With the Trane XL824 installation complete, ensure all settings are configured correctly for optimal performance; Refer to the manual for future maintenance, troubleshooting, and system care․
Final Checks and Ensuring Proper Functionality
After completing the installation, perform a thorough system check to ensure the Trane XL824 operates correctly․ Verify all connections are secure, and test heating, cooling, and Wi-Fi functionality․ Run through each preset to confirm temperature adjustments work seamlessly․ Check for any error codes and resolve them using the troubleshooting guide․ Ensure the thermostat is properly synced with your HVAC system and that remote access is functional․ Finally, review the user settings to confirm they align with your preferences․ A successful installation ensures energy efficiency, comfort, and reliable performance from your Trane XL824 system․

Maintenance Tips for Optimal Performance
Regular maintenance is essential to ensure the Trane XL824 continues to perform optimally․ Clean the thermostat’s display and sensors periodically to prevent dust buildup․ Check and replace the HVAC system’s air filters as recommended to maintain airflow efficiency․ Update the thermostat’s software whenever new updates are available to access the latest features and improvements․ Inspect wiring connections annually to ensure they remain secure and undamaged․ Schedule professional HVAC system maintenance at least once a year to complement the XL824’s functionality․ By following these tips, you can extend the lifespan of your system and enjoy consistent comfort and energy savings․